Front To Side Plank
Front to Side Plank is a bodyweight exercise that develops core control, where you transition from a front plank to a side plank in a controlled manner. The movement particularly challenges the oblique abdominal muscles and deep stabilizing muscles while improving body stability.
AI Analysis
Required equipment
Why Front To Side Plank?
The front-side plank is a dynamic and effective bodyweight exercise that takes the traditional plank to a new level. This movement not only challenges the deep stabilizing muscles of the core but also engages the oblique abdominal muscles as you transition smoothly from the front plank to one side plank and back. It is an excellent choice for those looking to improve body control, enhance posture, and increase overall body stability. Why is the front-side plank so effective? The continuous transition from one position to another forces the core muscles to work actively at all times, resisting rotational movement and keeping the body straight. This dynamism makes it much more challenging than static planks and better simulates the movements required in everyday life and sports. It strengthens the core in a versatile way, helping to prevent back pain and improve performance in other exercises, such as running, weightlifting, and ball games. This intermediate movement is suitable for almost anyone who is already accustomed to basic planks and is looking for new ways to challenge their core. It is a great addition to home workouts, gym programs, or even as a warm-up. You only need your body weight and a surface, so you can do it anywhere and anytime. Start slowly and focus on quality, and you will quickly notice a difference in the strength and control of your core!
Benefits
Strengthens deep core muscles.
Improves body control and coordination.
Increases core stability.
Effectively develops oblique abdominal muscles.
Enhances posture and supports the spine.
Prevents back pain.
Improves athletic performance.
Muscle groups
Primary
- obliques9
- obliques9
Secondary
- abs8
Stabilizers
- gluteal6
- gluteal6
- deltoids5
- deltoids5
- trapezius4
- trapezius4
- upper-back4
- upper-back4
- lower-back5
- quadriceps3
- quadriceps3
How to perform
Setup
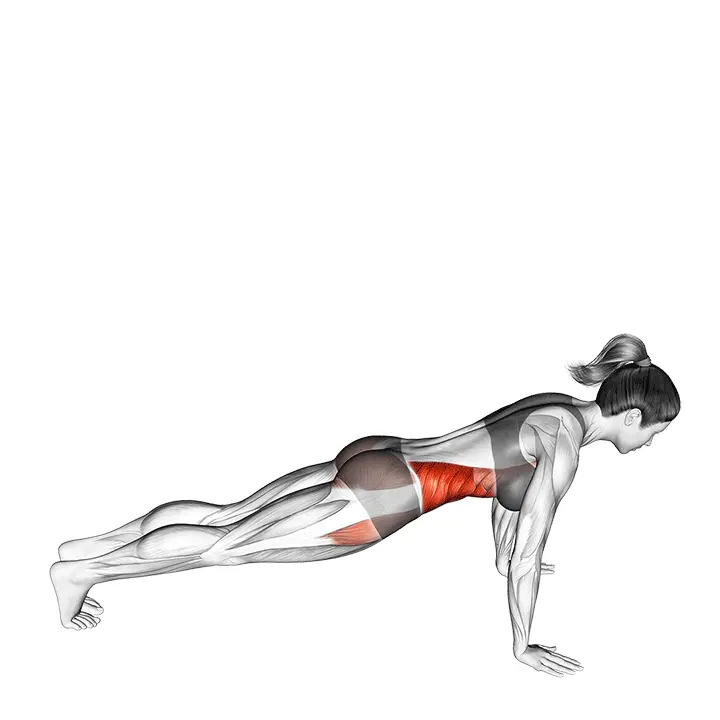
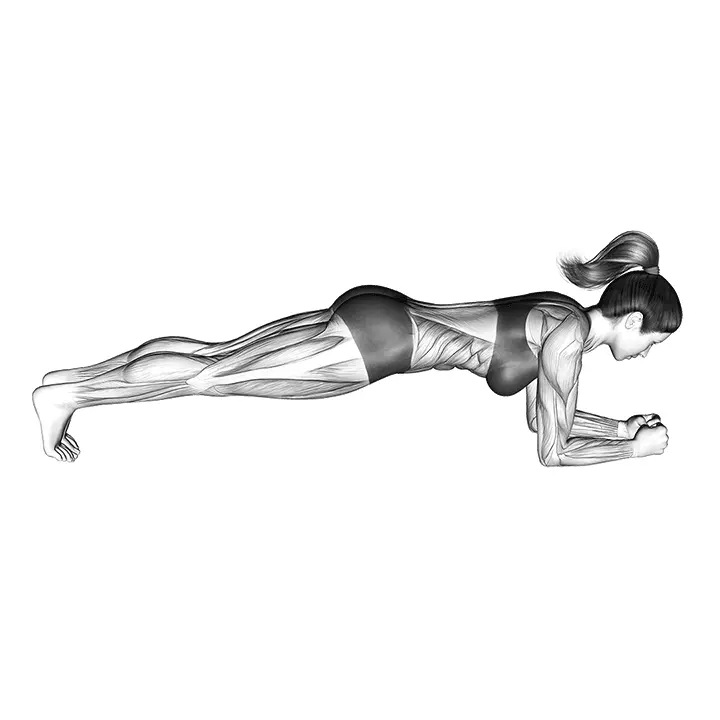
- Get into an elbow plank position: forearms on the floor, elbows directly under the shoulders, body straight from head to heels.
- Place your feet together or slightly apart for better support. Engage your glutes and gently pull your navel towards your spine.
- Keep your neck long and gaze directed at the floor.
Execution
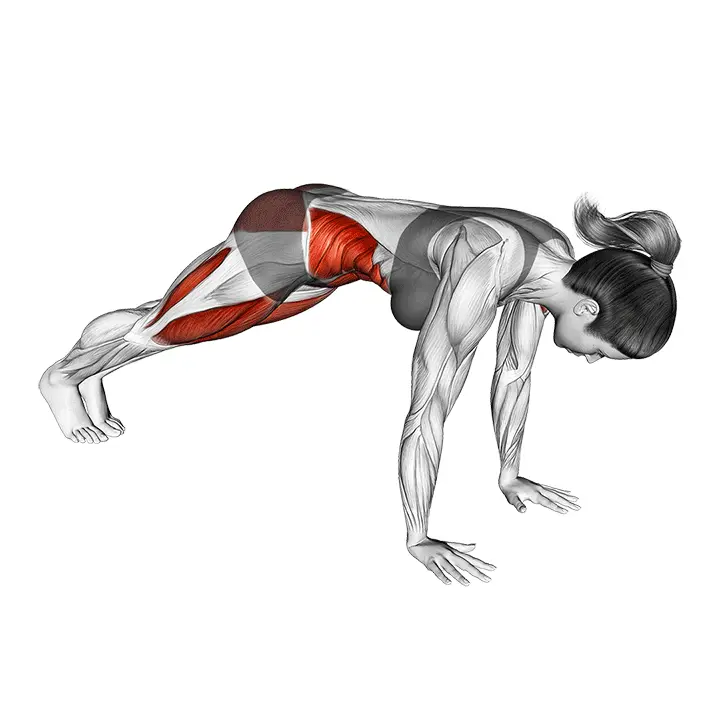
- Transition smoothly to a side plank: rotate your body, lift one forearm or hand as a support point and stack your feet (or keep your lower arm in the elbow plank), keeping your hips elevated.
- Hold the side plank for 2–3 seconds, activating your waist by lifting your hips slightly towards the ceiling.
- Return smoothly to the front plank and repeat on the other side. Continue alternating for 6–12 repetitions per side or 30–60 seconds in total.
Coaching cues
- •Keep your sides active and hips in a neutral line – avoid sagging or hip hiking.
- •Gently squeeze your glutes and breathe steadily, do not hold your breath.
- •Maintain shoulder support: push the floor away to spread your shoulder blades.
Common mistakes
❌ Hips are sagging or raised too high.
Why it's wrong: If the hips are not in a straight line with the shoulders and feet, core support weakens and strain is misdirected, which can lead to lower back pain.
✓ Fix: Engage your abdominal muscles and squeeze your glutes to keep your hips in a neutral position throughout the movement. Imagine you are a straight plank.
❌ Too fast or uncontrolled transition from one position to another.
Why it's wrong: Rushing from the front plank to the side plank weakens muscle activation and increases the risk of injury, especially in the back and shoulders.
✓ Fix: Make the transition slowly and in a controlled manner, focusing on core engagement. Imagine your body is one tight package.
❌ Shoulders are raised towards the ears or are too tense.
Why it's wrong: Tensing the shoulders unnecessarily strains the neck and upper back, which can cause pain and limit the effectiveness of the movement in the core.
✓ Fix: Keep your shoulders relaxed and gently pull them back and down away from your ears. Actively push the floor away with your hands.
Frequently asked questions
How many repetitions should be done in the front-side plank?
The number of repetitions depends on your goals. For strength development, 2-4 repetitions per side is good. For muscle growth, 6-10 repetitions, and for endurance, 10-15 repetitions per side. The most important thing is quality, not quantity.
Can the front-side plank be done every day?
Generally, it is not recommended to do it every day, especially at the beginning. Muscles need time to recover and grow. 2-4 times a week provides enough stimulus and recovery time for the muscles.
How can the difficulty of the front-side plank be increased?
You can increase the difficulty by extending the duration of the side plank position, adding repetitions, performing the movement more slowly, or lifting the upper leg in the side plank position. Holding a dumbbell in the upper hand can also increase the challenge.
Is the front-side plank good for back pain?
Yes, it can often help, as it strengthens the deep core muscles that support the back and improves body stability. However, if you have acute back pain, consult a doctor or physiotherapist before starting the movement.
Safety tips
- Keep your neck neutral and gaze at the floor, do not tense your neck.
- Ensure that your wrists are directly under your shoulders to avoid excessive strain.
- Listen to your body – if you feel pain, stop the movement and check your technique.
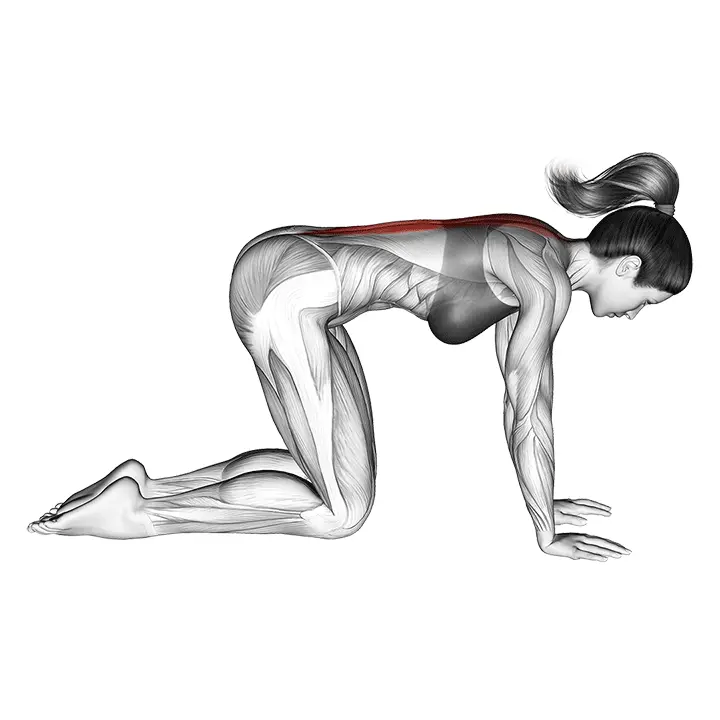
- Start with an easier version (e.g., knees on the ground) if the movement feels too challenging.
- Breathe steadily and calmly throughout the movement, do not hold your breath.
Tags
Train smarter with AI coaching
Tsemppi's AI gives you exact weights and reps for every workout. Progress every single session.
Start your free 7-day trial✨ Limited spots available • No credit card required