3 Leg Chatarunga Pose Stretching
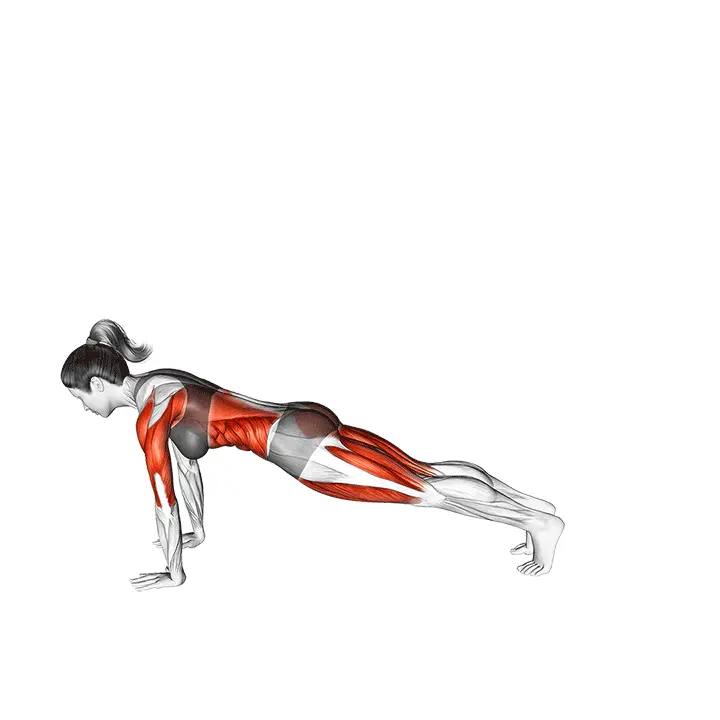
A bodyweight stretch inspired by yoga, where you lower into a three-legged Chaturanga position and open the chest and hip flexors. Improves shoulder control, core stability, and hip mobility.
AI Analysis
Required equipment
Why 3 Leg Chatarunga Pose Stretching?
The three-legged Chaturanga stretch is a versatile and challenging bodyweight exercise inspired by yoga that uniquely combines strength, mobility, and balance. This movement is an excellent way to deepen your Chaturanga practice and enhance overall body control. At its core, it involves lowering into the Chaturanga position on three limbs, requiring significant shoulder control and core stability. Simultaneously, the movement effectively opens the chest and hip flexors, which is particularly beneficial for those who sit a lot or have tightness in these areas. This stretch is well-suited for intermediate yogis and fitness enthusiasts looking to develop their body control and increase functional strength. It also makes a great addition to warm-ups or cooldowns, as it prepares the body for more demanding movements and promotes recovery. Regular practice of this movement helps improve posture, prevent injuries, and increase body awareness. While the movement primarily focuses on shoulder strength and stability, it also strongly activates the abdominal muscles, back muscles, and leg muscles, making it a comprehensive body control exercise. A yoga mat is recommended for comfort and grip, but the movement can also be performed without it. Its unique combination of strength and mobility makes it an effective tool towards a more balanced and stronger body.
Benefits
Improves shoulder strength and stability.
Develops core control and deep abdominal muscles.
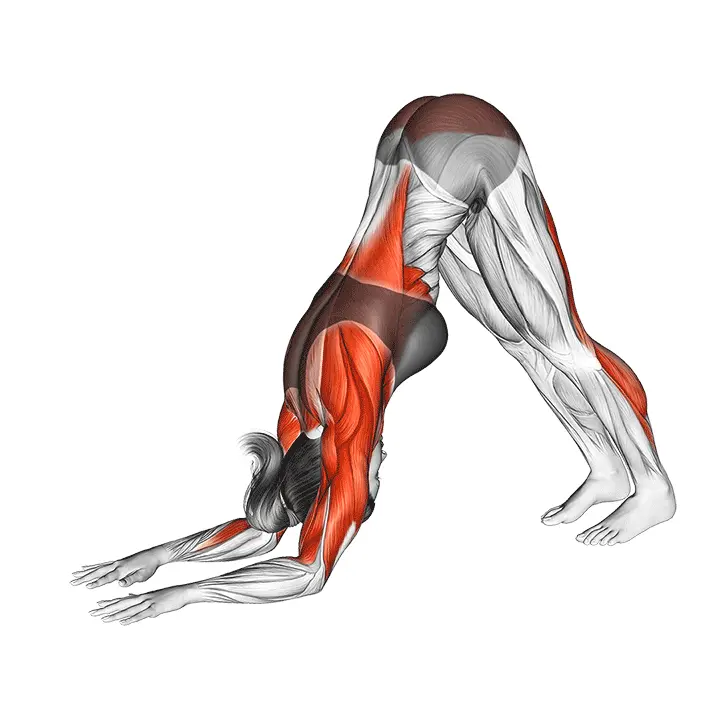
Increases hip flexor mobility.
Effectively opens the chest and improves posture.
Strengthens arm and back muscles.
Promotes overall body balance.
Deepens body awareness and presence.
Muscle groups
Primary
- deltoids6
- deltoids6
Secondary
- chest3
- chest3
- upper-back3
- upper-back3
- gluteal4
- gluteal4
- quadriceps3
- quadriceps3
- hamstring3
- hamstring3
- calves2
- calves2
Stabilizers
- triceps4
- triceps4
- abs6
- obliques5
- obliques5
How to perform
Setup
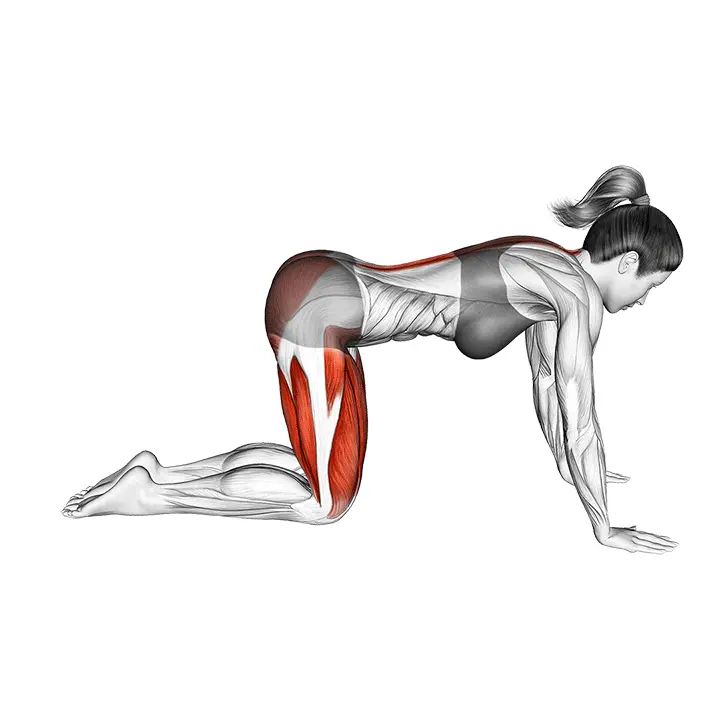
- Start on all fours or in a plank position on a yoga mat. Place your hands shoulder-width apart and fingers spread wide.
- Lift one leg slightly back to straighten it (supported by three points: two hands and the supporting leg).
- Engage your core and gently pull your shoulder blades down and back, keeping your neck long.
Execution
- Inhale, lengthening your body from head to heel.
- On the exhale, bend your elbows to your sides (Chaturanga style) and lean down as one piece, keeping the lifted leg active and the hip line neutral.
- Stay low for 1-3 breaths, maintaining control of your shoulder blades and keeping your elbows close to your sides. Feel the stretch in your chest and the front of your hips, as well as control in your shoulders and core area.
- On the inhale, push back to a high plank while keeping the leg still behind. Repeat 3-6 times per side or hold 20-40 seconds statically at the bottom in a controlled manner.
- Switch sides by lifting the other leg and repeating the same pattern.
Coaching cues
- •Keep your elbows at 45° or closer to your sides – do not let them flare out to the sides.
- •Keep your neck long, looking slightly forward at the floor – avoid letting your head hang or overextending.
- •Press your palms evenly into the ground (especially at the base of your thumb and index finger) to activate shoulder support.
- •Engage the glute of the lifted leg and keep your hips as straight as possible to avoid twisting.
- •If your lower back arches, raise your height slightly or lower your knee to the ground for assistance.
Common mistakes
❌ Descending too quickly and uncontrollably.
Why it's wrong: A rapid descent puts too much strain on the shoulders and can lead to injuries. Core support weakens.
✓ Fix: Lower slowly and in a controlled manner, thinking of your whole body as one unit. If necessary, lower the knee first or shorten the range of motion.
❌ Elbows pointing outward.
Why it's wrong: This position places undue stress on the shoulder joints and reduces the effectiveness of the movement.
✓ Fix: Keep your elbows close to your sides and pointing straight back throughout the descent.
❌ Hips sagging or rising too high.
Why it's wrong: Incorrect hip positioning indicates weak core support, which reduces the effectiveness of the movement and can cause back pain.
✓ Fix: Engage your abdominal muscles and keep your hips aligned with your shoulders and the lifted leg, as if you were in a plank position.
Frequently asked questions
Who is the Three-Legged Chaturanga suitable for?
This movement is suitable for intermediate yogis and fitness enthusiasts looking to develop body control, shoulder strength, and mobility. It is excellent for those wanting to deepen their Chaturanga practice and add challenge to basic movements. Beginners are recommended to first practice basic Chaturanga.
Do I need a yoga mat for this movement?
A yoga mat is not mandatory, but it can improve grip and add comfort, especially under the wrists and hands. You can also perform the movement on a bare floor if the grip is sufficient. The most important thing is a stable and even surface.
How can I make the movement easier if it is too difficult?
You can make the movement easier by lowering one knee to the ground or shortening the range of motion of the descent. Focus initially on just the controlled descent and keep the other leg slightly off the floor, or practice the basic Chaturanga descent first.
What muscles does the Three-Legged Chaturanga primarily work?
The movement primarily works the shoulders and arms, especially the triceps. Additionally, it effectively strengthens the core (abdominal and back muscles), improves hip flexor mobility, and activates the glute muscles on the lifted leg side, making it a comprehensive movement.
Safety tips
- Warm up your shoulders and wrists thoroughly before starting the movement.
- Listen to your body and avoid pain – if you feel sharp pain, stop the movement immediately.
- Start with easier variations and gradually progress to more challenging ones as strength and control improve.
- Keep your elbows close to your sides and shoulders down, away from your ears, to protect your neck and shoulders.
Tags
Train smarter with AI coaching
Tsemppi's AI gives you exact weights and reps for every workout. Progress every single session.
Start your free 7-day trial✨ Limited spots available • No credit card required