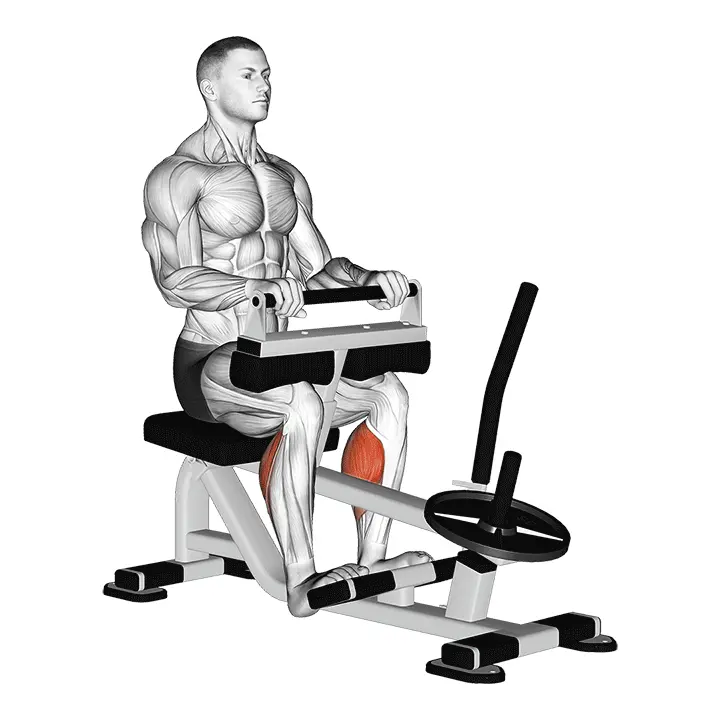
Lever Seated Calf Raise
The seated calf raise with a lever isolates the calves effectively without overloading the back. The adjustable lever machine allows for a controlled range of motion and easy load increase for progressive training.
AI Analysis
Required equipment
Why Lever Seated Calf Raise?
The seated calf raise with a lever is an excellent exercise for effectively isolating and strengthening the calves, especially when you want to avoid stressing the back. This movement specifically targets the gastrocnemius and the deeper soleus muscle, with the latter being activated more strongly when the knee is bent. Its lever machine allows for precise and controlled movement, making it an ideal option for both beginners and more experienced trainers. The greatest advantage of this exercise is its ability to effectively isolate the calves. The seated position and bent knees reduce the involvement of the thigh muscles, directing all force straight to the calves. This is particularly beneficial for those who experience lower back strain during standing calf exercises or want to focus specifically on calf growth and strength. The adjustable load and easy progression make this exercise a cornerstone of long-term training. Strong calves are important not only aesthetically but also functionally. They support walking, running, jumping, and many other movements in daily life and sports. By improving calf strength and endurance, you can prevent injuries and enhance your performance. This exercise is a safe and effective way to build strong calves that will serve you both in and out of the gym.
Benefits
Effectively isolates the calf muscles.
Strengthens the calves without straining the back.
Improves explosive leg power.
Develops calf muscle mass and endurance.
Supports the efficiency of walking and running.
Allows for precise progressive loading.
Reduces the risk of lower limb injuries.
Muscle groups
Primary
- calves10
- calves10
Stabilizers
- hamstring3
- hamstring3
- quadriceps2
- quadriceps2
- gluteal2
- gluteal2
- forearm2
- forearm2
- abs3
- lower-back2
How to perform
Setup
- Adjust the seat height so that your knees are at about a 90-degree angle and the balls of your feet rest on the support plate with your heels free.
- Place the padded support bar on your thighs just above your knees and lock it firmly.
- Keep your hips and core in a neutral position, holding the handles lightly for balance support.
Execution
- Lower your heels in a controlled manner until you feel a stretch in your calves without overextending your ankle.
- Squeeze your calves and lift your heels up into plantar flexion as high as you can control.
- Pause briefly at the top position, lower back down in 2-3 seconds, and repeat the movement for the desired repetitions.
Coaching cues
- •Keep the movement at the ankle – avoid pumping the knees or swinging the upper body.
- •Maintain a full, pain-free range of motion: slow descent, strong but controlled ascent, and a brief hold at the top position (1 second).
Common mistakes
❌ Too fast and jerky movement
Why it's wrong: Many perform the movement too quickly, using momentum instead of muscle strength. This reduces muscle tension time and weakens the training effect.
✓ Fix: Perform the movement in a controlled manner. Rise slowly while squeezing the calves and lower down gently, stretching the calves through the full range of motion.
❌ Too short range of motion
Why it's wrong: By not completing the range of motion, you do not gain the full benefit of the exercise. The calves do not stretch sufficiently in the bottom position and do not contract maximally in the top position.
✓ Fix: Ensure that you lower your heels as far as possible to stretch the calves properly. Rise as high as you can, squeezing the calves maximally.
❌ Lifting weight on the toes instead of the balls of the feet
Why it's wrong: If the weight is too much on the toes, it can cause imbalance and unnecessary strain on the small muscles or joints of the foot. The movement does not target the calves optimally.
✓ Fix: Keep the weight evenly distributed on the balls of your feet, especially between the base of the big toe and the little toe. This helps activate the calves more effectively and evenly.
Frequently asked questions
How often should I do the seated calf raise?
The training frequency depends on your goals and recovery ability. For muscle growth, 2-3 times a week is usually effective. In strength training, 1-2 times a week may suffice, while for endurance, you can do it more often. Remember to give your muscles time to recover.
Why is it important to keep the knees bent in this movement?
Keeping the knees bent during the seated calf raise activates the soleus muscle more effectively. This muscle is located deeper and is important for endurance. When the knees are straight, the gastrocnemius does more work. Bending ensures maximal stimulation of the soleus.
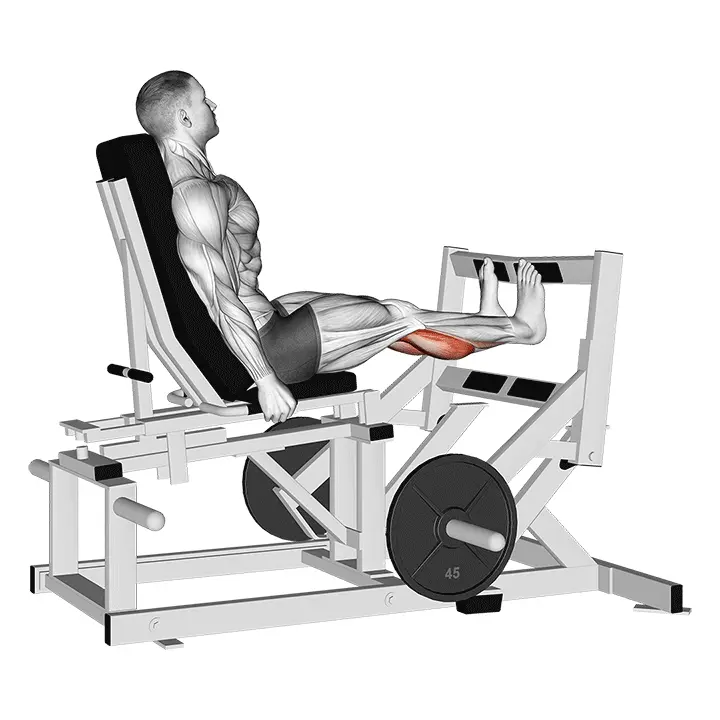
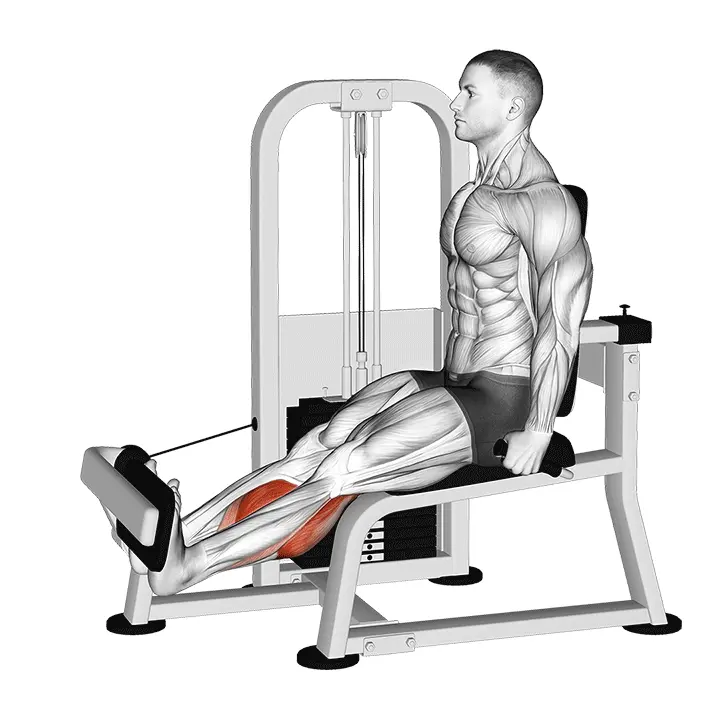
Can I do this movement without a dedicated machine?
It is difficult to perform the seated calf raise effectively without a machine designed for this purpose, as the weight needs to be placed on the thighs and the range of motion must be controlled. However, you can do standing calf raises with dumbbells or body weight, or use a Smith machine and bench to create an improvised version, but the machine provides the best isolation and safety.
Does the movement feel stronger in one calf?
If you feel the movement unevenly, it may be due to muscle imbalances or one side unknowingly doing more work. Ensure that your feet are evenly placed on the machine platform and the weight is distributed equally on both sides. You can also try alternating calf raises to correct the imbalance.
Safety tips
- Always adjust the machine properly to fit your body before adding weights.
- Start with a light weight and focus on proper technique before increasing the load.
- Ensure that the calf support is firmly on your thighs and does not press on your knees or groin.
- Lower your heels slowly to avoid jerks and overstretching.
- Do not lock your knees tightly at the top position, but keep a slight softness in them.
Tags
Train smarter with AI coaching
Tsemppi's AI gives you exact weights and reps for every workout. Progress every single session.
Start your free 7-day trial✨ Limited spots available • No credit card required